Lucky for me, Heartwood Homesteads is still very much involved in the research and development phase. As I am not one to stifle my own inquisitiveness or quell potential creativity, on December 10th, 2010 I left Birmingham, AL on an Amtrak train for the R&D trip of my dreams. The exhausting yet enchanting four day journey eventually brought me to the site of a cooperative farming business just outside Huatusco, Veracruz in the Republic of Mexico. “Las Cañadas”, the place is called, alluding to the gullied condition of the terrain when the rehabilitation of the former cattle ranch began. The once overgrazed ravines now ripple with an incredibly diverse and verdantly productive agroecology. This remarkably hospitable farm provided the setting for my wintertime efforts to research first hand just what it is that makes an incredible enterprise such as Las Cañadas not only viable but vibrantly resilient and to develop my own personal skills to contribute to similar efforts back home.

Let me go ahead and say that one need not be completely irrational to travel into Mexico. Las Cañadas offers a top choice as a destination for an eco-geek like myself in need of a winter R&D trip to a tropical clime. On many levels, my dreams for Heartwood Homesteads are embodied by their cooperative business. One look over the list of courses reveals a well-rounded approach to community self-reliance. The instructors (guests and staff) are well-versed in the likes of renewable energy sources, bio-architecture, bio-intensive gardening, edible forest gardens, healthy cooking, cheese production, animal husbandry… the list goes on. Another attractive attribute was the semi-tropical location in a cloud forest ecosystem, which is ever so rare upon this increasingly homogenized planet. The temperature generally rode a mellow diurnal cycle between 50 degrees F and 75-80 F. Low cloud cover was a constant presence, permeating everything with abundant moisture and biological activity. When the skies were clear, the vistas were made that much more spectacular by the long absence of the distant mountains, most notably Pico de Orizaba. The people were generally wonderful and kind, and the local culture refreshingly down to earth.
In spite of all these glowing bulbs on the marquee, I would never have known heads or tails of this amazing place, with its totally spanish website, had it not been for a course I attended on Forest Farming. During this course Eric Toensmeier, co-author of Edible Forest Gardens, made several references to the remarkably productive systems that Las Cañadas has been able to establish over the last fifteen years. With Eric’s help, I realized that I had an excellent reason to make my first trip beyond the borders of the US and into the less-frequented mountainous region of Veracuz.
Eric put me in touch with his good friend Ricardo Romero. Instantly, I was drawn into Ricardo’s story, also the story of Las Cañadas. Ricardo’s father is the man whose cattle overgrazed the land that comprises the farm today. Upon inheriting the land from his father, Ricardo’s astute powers of observation began to inform him that careless grazing practices were certainly not improving the family’s land, even though at that point he knew very little about the alternatives. Ricardo had acquired a degree in agronomics from a well renowned Mexican University; yet, the sterility of the cost-benefit analysis would not suffice. So, in 2007 when he took a friend’s advice and participated in David Holmgren’s Permaculture Design Course, his perspective, and his farm, were forever changed.

That's Ricardo hopping in a close third behind two volunteers.
With optomistically-protracted collaborative planning and big bold initiatives Ricardo and friends set in motion an evolving process which has proven to be a powerful force in improving the lives of the cooperative members and positively influencing countless others. Then, of course, there is ‘la tierra.’
Here’s a video of Ricardo giving a very concise description of the operation:
(en español) http://www.bosquedeniebla.com.mx/video/intro.htm
~
Upon crossing over to the other side of ‘La Frontera’, one can’t help but notice that the central gulf coast of Mexico is indeed a vastly different place from Alabama in many indisputable ways. With that said, Mexican farming traditions face very similar challenges to those faced by our even less deeply-rooted small farms back home. In my experience, agriculture has tended to exist on a spectrum ranging from integrated small centers of production in harmony with the local ecosystem on one end, to massive-scale monoculture farms that utilize industrially-produced inputs at every opportunity in an effort to dominate mother nature and achieve the highest yields at the lowest cost on the other. In a global, market-driven economy, it is an immense challenge for any self-promoting, small-scale grower to make a decent living and uphold his or her highest values. Not only is a compromise of values hard on the farmer, but very often, it turns out to be bad for the land, especially over the long term. At Las Cañadas, an elegant solution to this dilemma is daily levered into action. This solution exists not in improved seed varieties or highly-subsidized technical adjustments. From a modern perspective, Las Cañadas has completely overhauled the mainstream farming experience, essentially returning a farm which was destined to erode away to the ocean with another decade of bad grazing practices to a regenerative village-based agriculture. Therefore the main thing distinguishing the cooperative I visited from any other rancho in Mexico, or Alabama for that matter, is their fundamental structuring of the farm as a community that looks out for itself first and foremost.

Las Cañadas did not just immaculately begin with all of it’s foundational ducks in a row. The farm has permitted itself to learn and grow, and it’s open minded, pragmatic approach to developing a robust core of principles and traditions has manifested some incredible outcroppings. Twenty-two ‘socios’, or members, constitute the Las Cañadas cooperative, which maintains that all positions are ‘socio-trabajadores’ or member-workers as opposed to some being ‘patrones’ (bosses) and some ‘campesinos’ (farmers.) There are positions within the working group for familiar roles such as office manager, director, and head chef. There are also people posted to jobs that may seem anachronistic or even completely unheard of to some of us here in the global north, such as the man who maintains the roads and trails with a machete and a hooked stick, the milpa farmer who often employs oxen to manipulate the soil, or the young fellow in charge of maintaining the forest garden – often found doling out the prescribed amount of fermented urine or humanure to a macadamia tree or a citrus. Even with such widely varied responsibilities they all earn their pesos from the funds generated by the courses they offer and with a set ratio (3:1 I believe) of least paid position to most not to be exceeded. Within their system, most people do not do work directly associated with the bi-monthly courses. The work of the cooperative is in providing for the needs of their community. They produce a large percentage of their own food from a plethora of sources cultivated across the grounds, including two large ‘milpa’ fields which provide all of their maize (corn) and frijoles (beans), the foundation of the traditional mexican diet. They generously distribute firewood and building wood amongst the associates. Each member also receives daily milk jug refills and a weekly artisan cheese score. The list of the land’s provisions do not stop there, as human resourcefulness is allowed to flourish and manifest delicious foods from the most unlikely places.

a capacious hand-made oven
In addition to the copious produce, the eco-technologies fund is a collective fund that pays for each member to add one important technology to their own home each year, five or six different technologies are currently available: including water catchment, rocket stoves for showers or for cooking, composting toilets, and biointensive raised beds. The ‘eco-tech’ fund is another ingenious manner of dispersing both the ideas and the nuts and bolts of self-sufficient living.
- Uncommon forces shape the very local economy of Las Cañadas. Soil depletion concerns at Las Cañadas are amongst the factors that have led the economic engine away from marketing their produce to the general public. Since the socios eat the food they raise and generally use the composting toilets strategically placed around the acreage, the soil is taxed and exported far less and food expenditures are kept at a level that would appear quite parsimonious to the majority of the global north. Also, the desire to focus on improving their productivity as farmers made it necessary to divert their attention from operating solely as an ecotourism site. The cooperative members now enjoy nearly all their produce to feed themselves and utilize their ecotourism cabañas to house volunteers, like myself, who work to improve the core functions of the cooperative. The focus on offering courses (about two per month) allows for the rest of their time to be put into managing the farm and all it’s many facets. The associates do not have to convene for a strategic meeting every week; they tend to abide by a very established set of roles and responsibilities suited to their individual strengths. Only minor adjustments to the routine are necessary to keep the heart of Las Cañadas pumping strong. During the high seas of the rainy season, the socios pull together and keep a tight ship. During the most blustery days of the winter, there is still an impressive lot of produce to share. Including all the elderly and children of the 22 workers in the cooperative, there are around 77 people dependent upon the yields of this growing cooperative. It is amazing how much they are able to accomplish together, meanwhile maintaining the roles of the community in a tranquil and tropical sort of way. I found it especially encouraging the amount of gifting that went on amongst the old and new friends of the community. Las Cañadas has indeed achieved a certain sort of wealth that has become unfamiliar to many of us here in ‘gringolandia.’

Casa de Karla's share of the eco-tech program.
To make it as a well recognized educational farm, the cooperative at Las Cañadas must earnestly maintain some very important differences in comparison with the other farms in their region. Characteristic of these bootstrapping campesinos is the way they carefully deliver precise doses of trace micronutrients to soils in need of, let’s say, cobalt or iron instead of applying massive amounts of broad spectrum, soil-sterilizing ‘fertilizers.’ They also keep very accurate logs on the volume of urine being distributed to the trees making up the forest garden. Their food systems are not left up to chance and it shows in their abundant yields. The culture of close observation and constant improvement is alive and well. Some research is done on the farm by volunteers arriving from nearby universities, however, a lion’s share of R&D is done regularly by Ricardo Romero and a few other core members of the staff. An incredible gardener with two long revolutionary braids named Karla Arroyo is constantly improving the seed bank, which includes the gardener’s choice of varieties well suited to the region. So, the farm has it’s own seed collection and continues to improve the varieties they like the best and to disseminate those seeds liberally amongst their neighbors. The production of the incredible edible egg is also constantly being improved upon by Ricardo’s wife, Tanya; as is the canon of wholesomely delicious recipes rendered up by the ‘artistas’ on the kitchen staff.
In solidarity, Las Cañadas prominently posts the fundamental assumptions that provide bearing for all of their major ‘community-scale’ decisions. They are as follows:
- The environmental crisis is real and of a magnitude that will certainly transform modern global industrial society beyond recognition. In the process, the well-being and even the survival of the world’s expanding population is directly threatened.
- The ongoing and future impacts of global industrial society and human numbers on the world’s wondrous biodiversity are assumed to be far greater than the massive changes of last few hundred years.
- Humans, although unusual within the natural world, are subject to the same scientific ‘energy’ laws that govern the material universe, including the evolution of life.
- The tapping of fossil fuels during the industrial era was seen as the primary cause of the spectacular explosion in human numbers, technology, and every other novel feature of modern society.
- Despite the inevitably unique nature of future realities, the inevitable depletion of fossil fuels within a few generations will see a return to the general patterns observable in nature and pre-industrial societies dependent on renewable energy and resources.
|
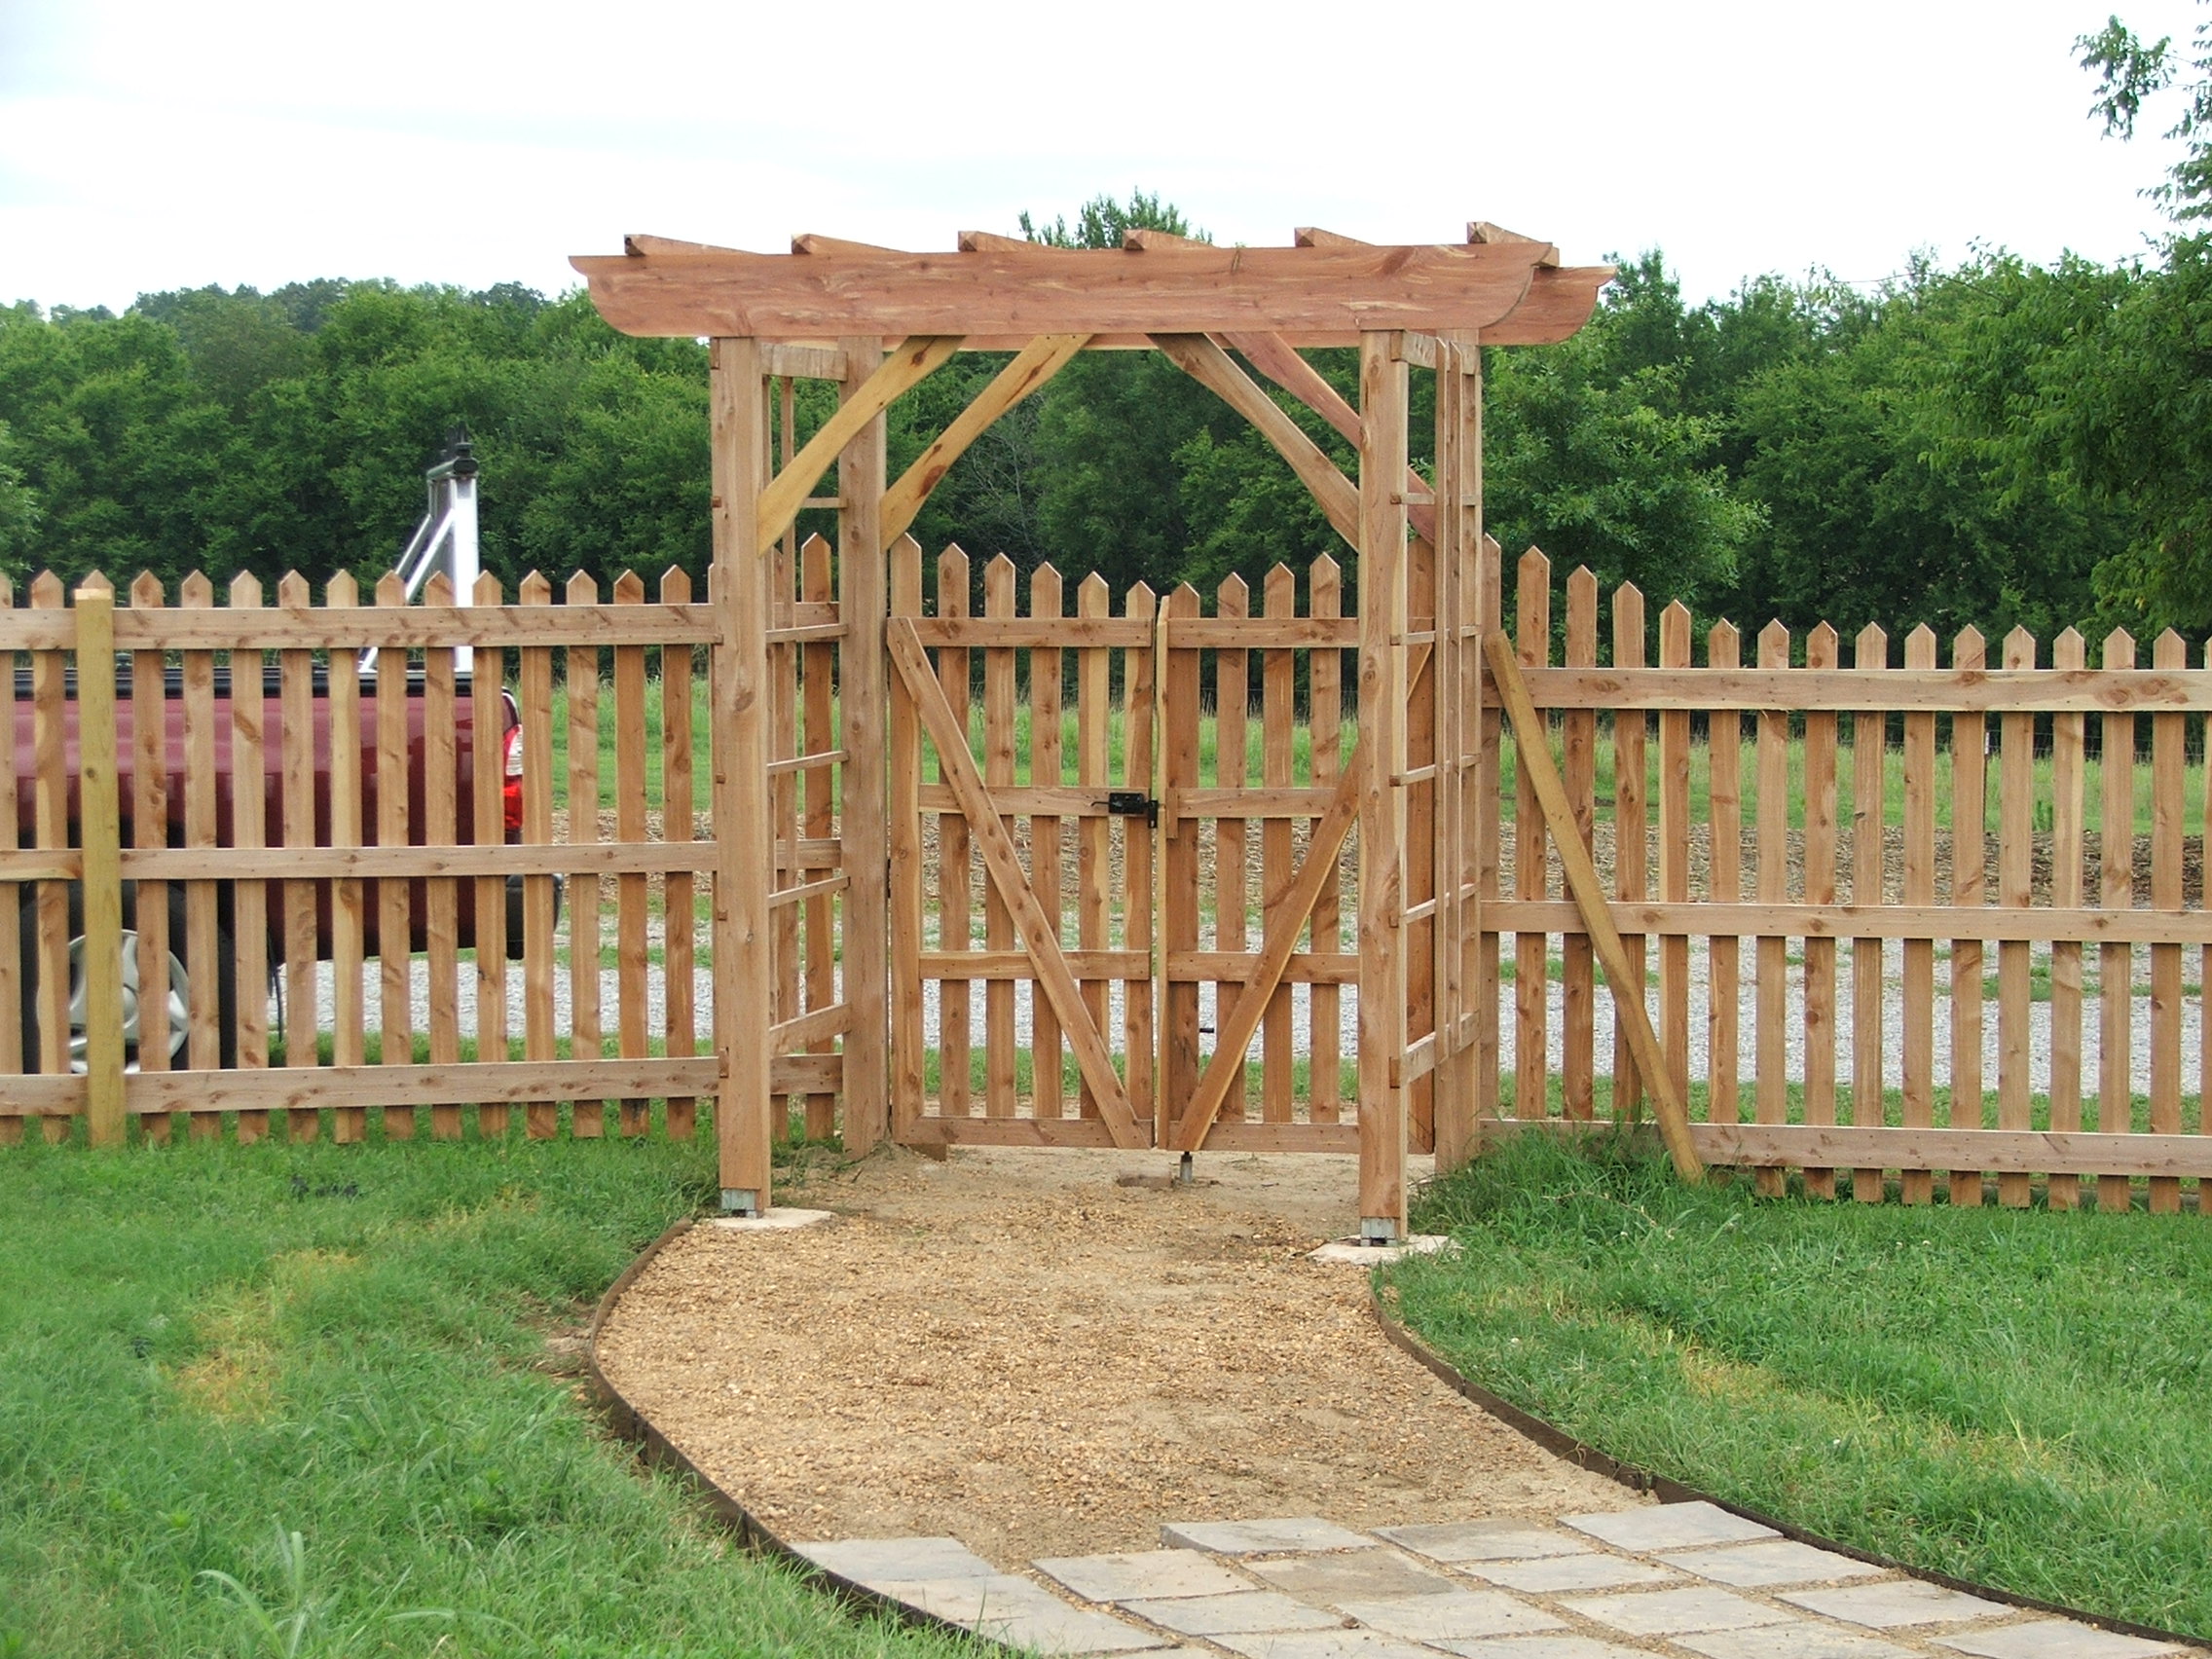
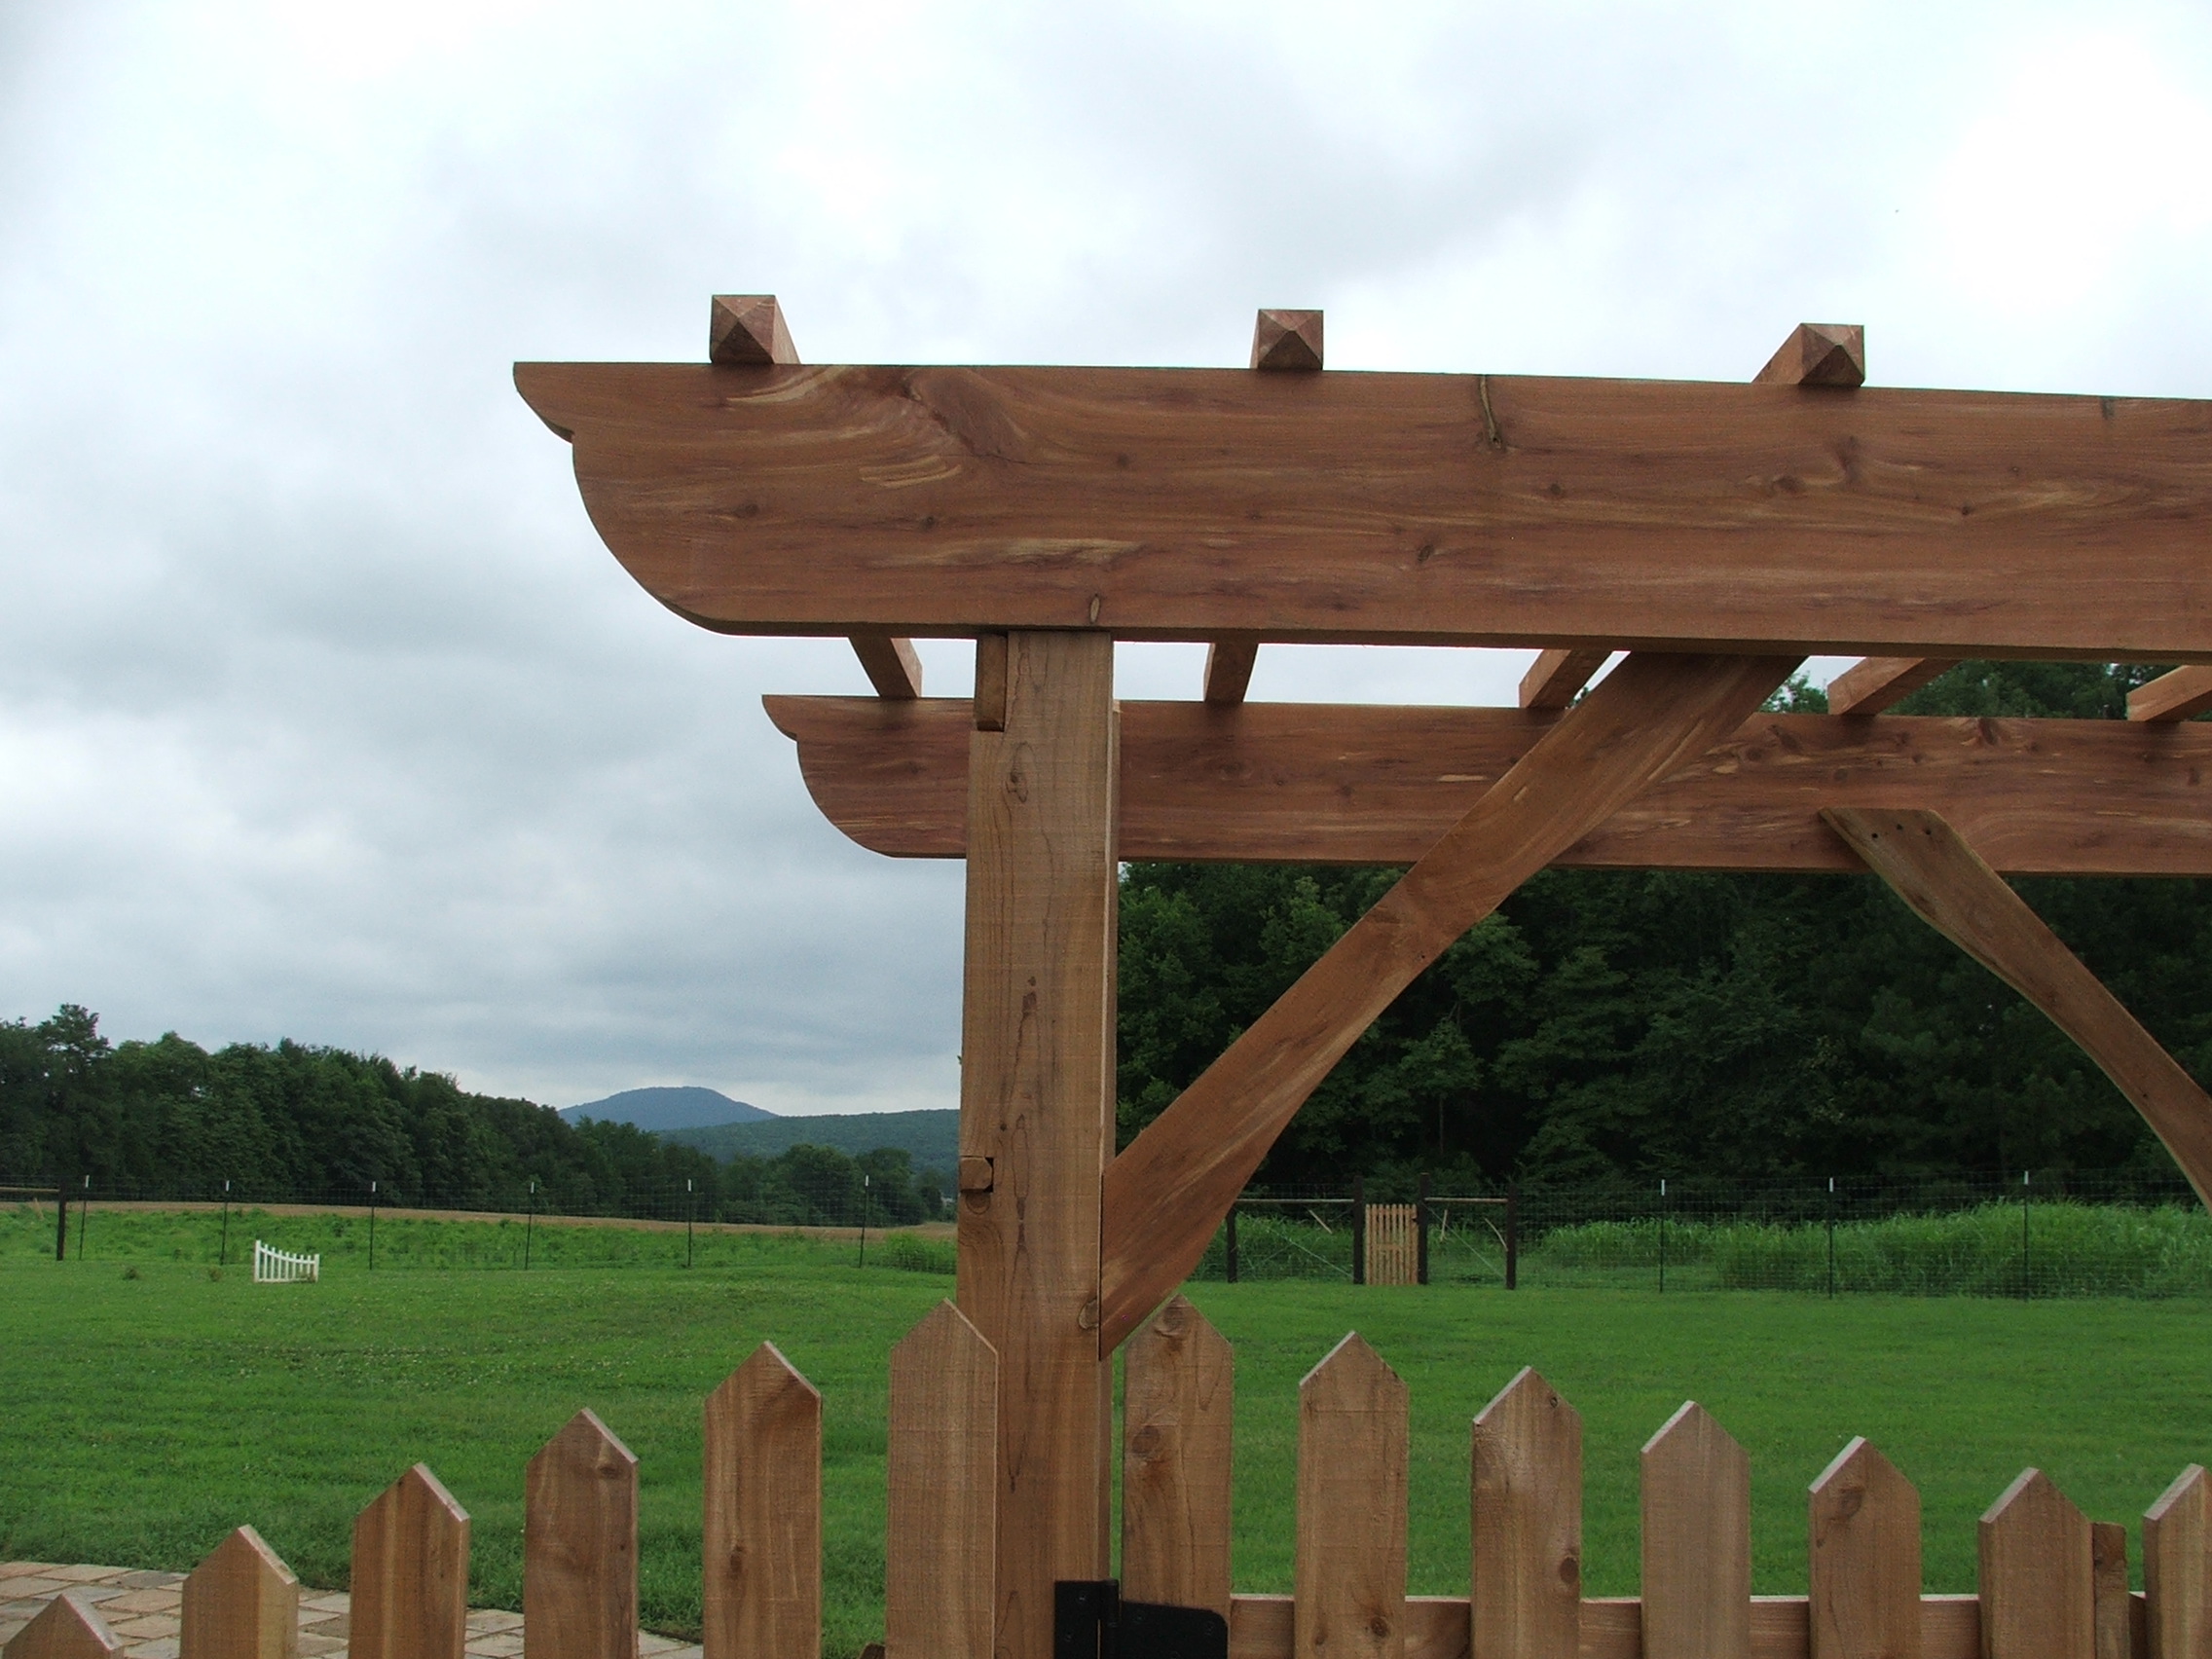
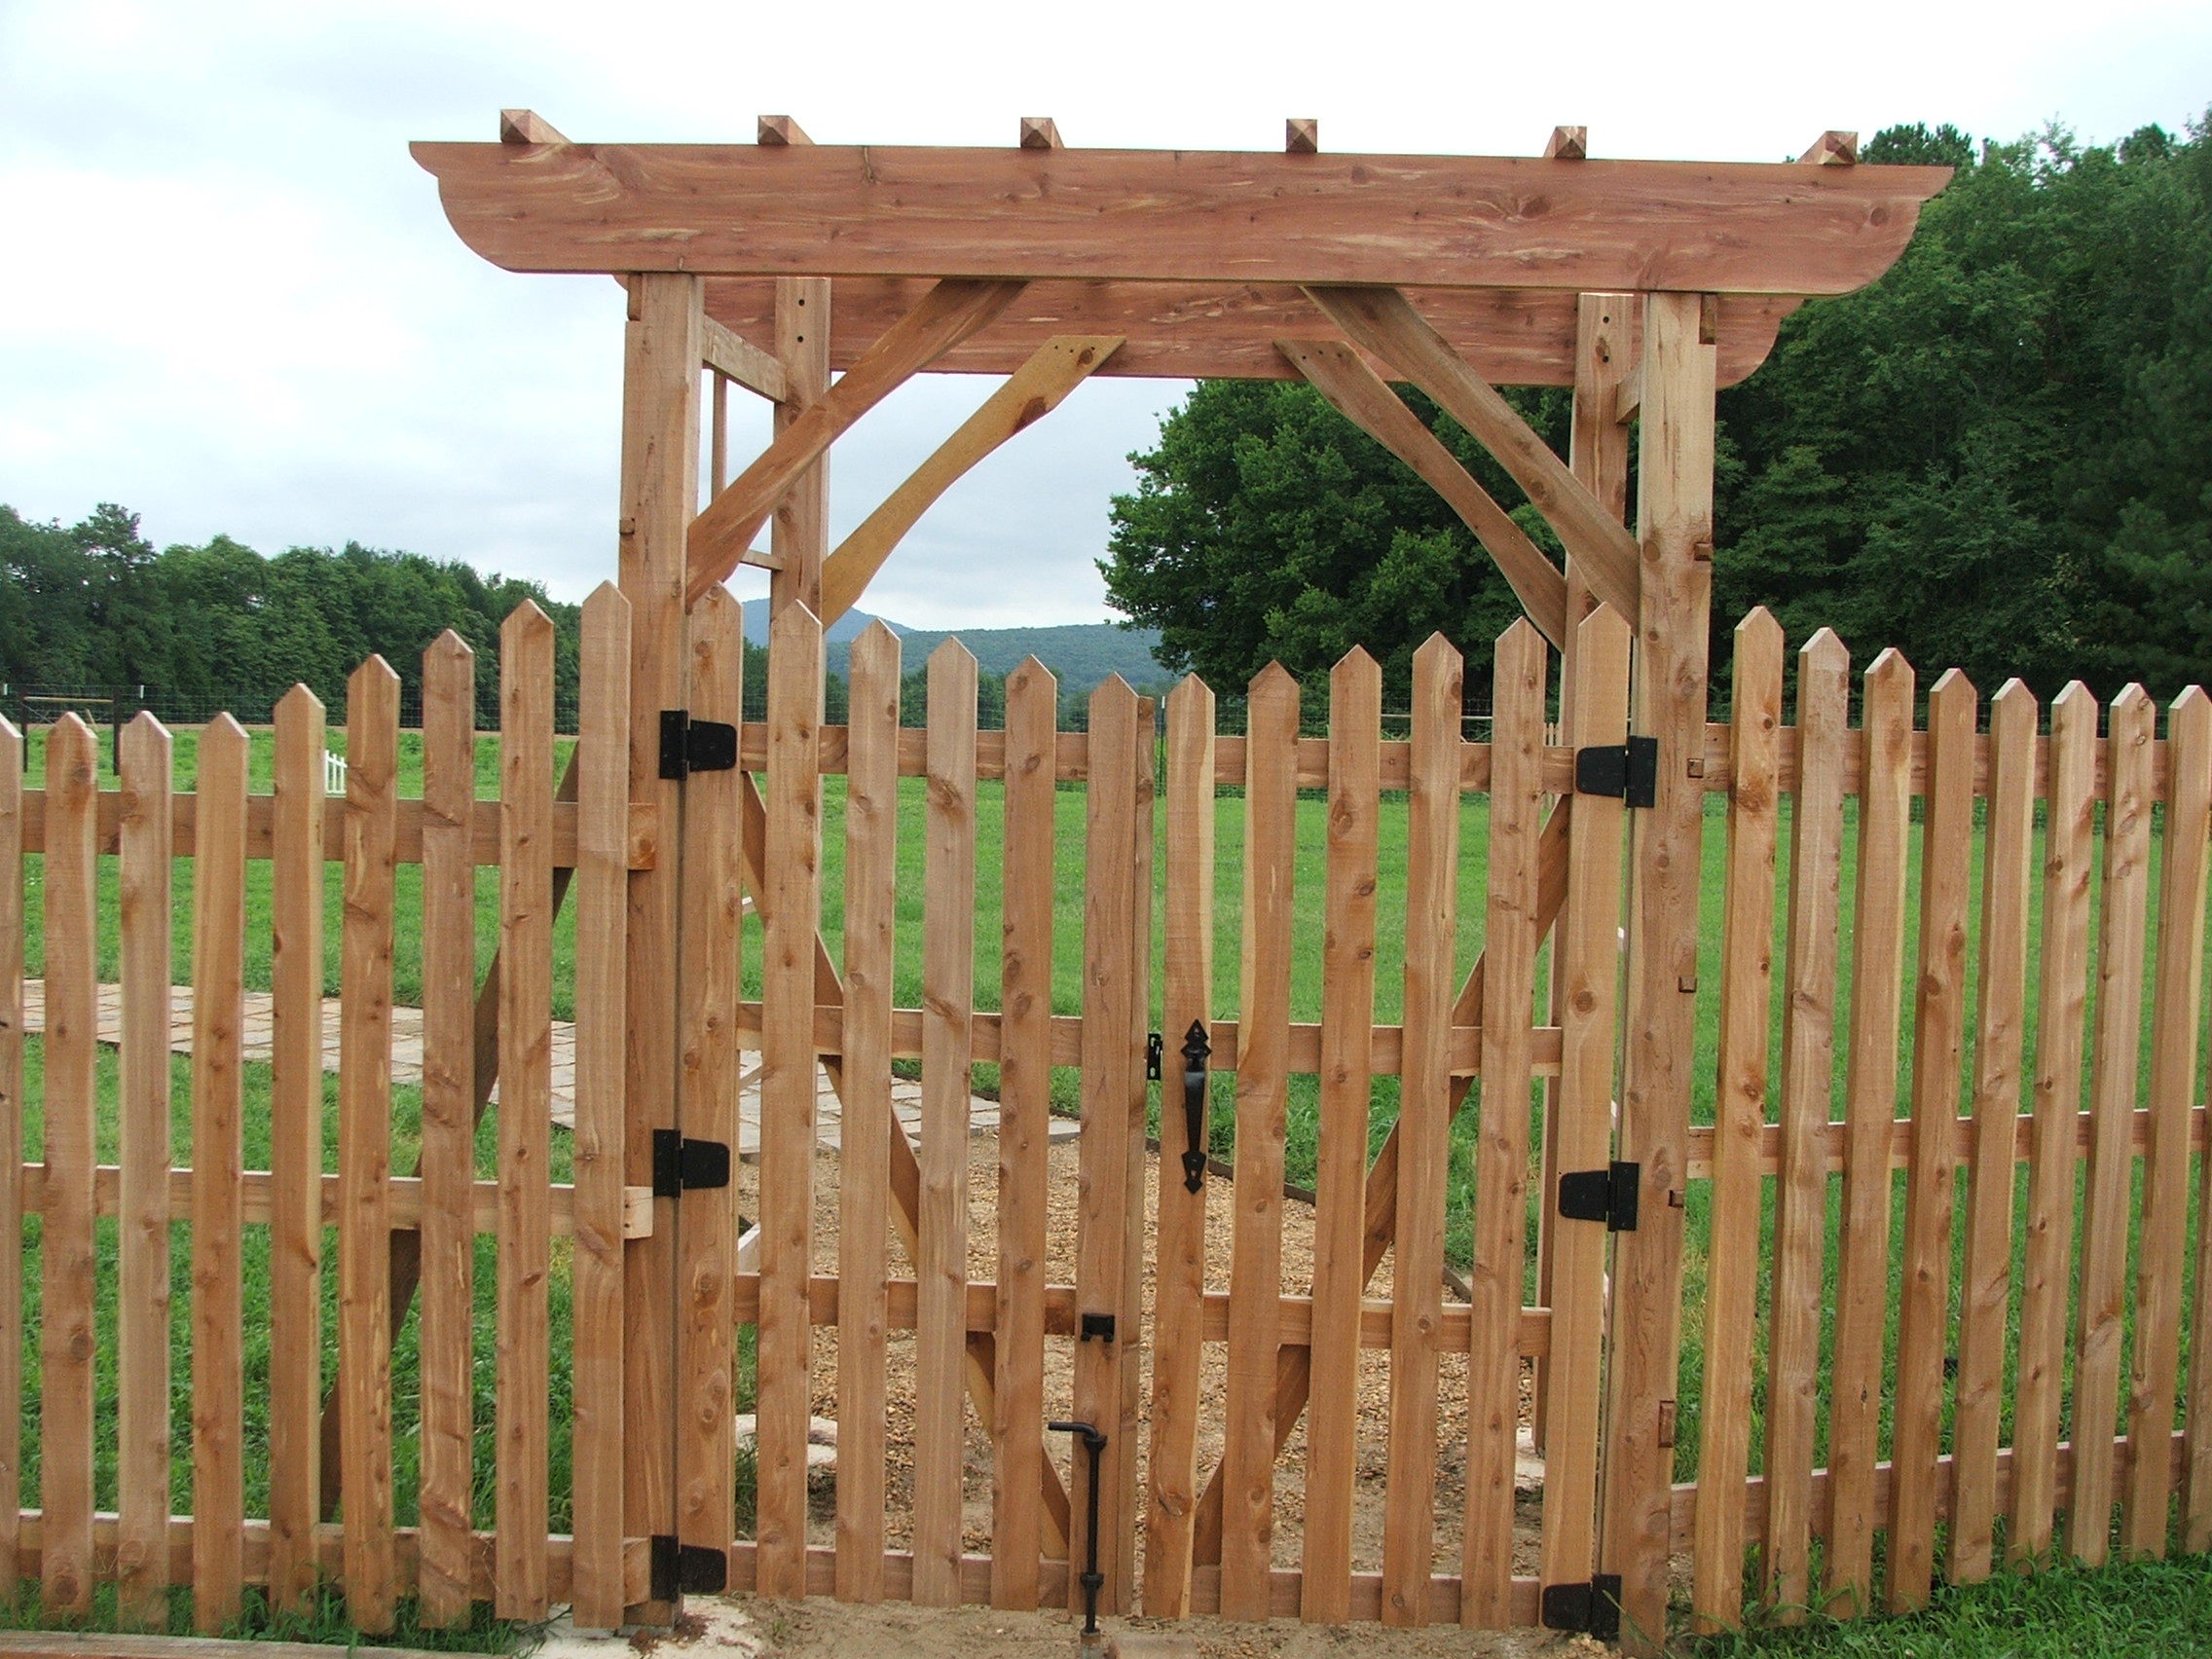
 Needless to say, the volunteering adventure at Las Cañadas is a good one. I often found myself working extra diligently due to a sense that I needed to maintain some parity of exchange with the farm’s kitchens. Upon arriving, my attention was quickly invited in on several projects and I was allowed to apply my energy wherever I best saw fit. The first design problem that I latched onto involved creating a new timber framed structure to support a circular, spanish tile roof with a cupola over the round meeting space toward the end of the forest garden. This proved to be a worthy challenge for my scale ruler and I. After several inadequate iterations of various forms and frames, and several consultations with framing savvy friends back home, we settled on a beautifully trussed up design based on an epic ski lodge in Vermont. My hope is to someday make the return trip to execute these designs.
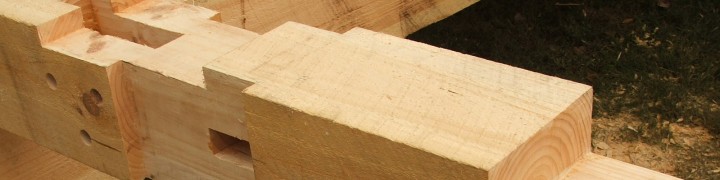
Another major project I had the pleasure of making my own was to create the model wall design for the new office space being added onto the roof of the existing office. I designed a large window to provide ample day lighting for the room, then built the frame from walnut cut from the farm and had a local craftsman cut the glass to fit. Another volunteer and I suspended the window in it’s place in the wall cavity so that it may then be infilled around with the local variety of what I call waddle and daub.

That's my 1st Walnut Framed Window in an Earthen Wall
Once the women of the kitchen discovered that I had some fairly decent carpentry skills, they promptly put me to work building walnut bar stools to ease the strain that delicious hand-made tortillas put on their backs. So, my first true experience with building all wood, mortice and tenon furniture came in a very unlikely little workshop in Veracruz.

All the while, to add to these fascinating projects, there were fiestas and weddings to attend, miles of trails through the cloud forest to hike, and some serious culinary adventuring to make happen. I was also able to attend an incredible, week-long course titled ‘Agroecologia y Cultivos Biointensivos’ (Agroecology and Biointensive Gardening). I took twenty pages of notes during the week long course on agroecology and all in Spanish: a testament to how rapidly one can learn a new language when immersed in a super stimulating and familiar field of work. I barely knew how to tell the taxi driver where I needed to go when I arrived in Huatusco. In case you are still wondering, to volunteer for Las Cañadas is a truly illuminating experience. As an interesting side note, Samuel, another college-age volunteer, recounted a tale of being involved in a potentially fatal car accident that he survived because an avocado tree cradled the impact of his vehicle. This salvation by avocado tree experience transformed his life’s direction such that he is now pursuing a degree in sustainable agriculture engineering.

On the final day of the agroecology course. All the mental super-saturation was followed by a traditional meso-American Temazcal. It was my profound privilege to experience two temazcals while at Las Cañadas. Due to the steep learning curve, the first one was mostly sentiment and heat; whereas the second one was a breakthrough into my new language, complete with synaesthetic imagery and keen insights. The temazcal offers a truly deep drink of traditional meso-American culture – una bebida muy profundo.
~
During my stay at Las Cañadas the absolute necessity of good design really set in on me. As with many upstart, “ecotopia”, sort of places, many of the early stages of the infrastructure had been built prior to gaining the full recognition of design considerations for the site. On the other hand, the water delivery systems, the food production systems, and many of the later-model systems that are being implemented at Las Cañadas ring with the song of ingenious simplicity. I saw clearly and wholly that fully embracing and employing the design process early and often will save a lot of subsequent headaches and pay considerable dividends. This applies all the way from toilet bowl design (separating pee pee from poo poo) to carefully adjusting the dynamics of interconnected economic centers. Las Cañadas gives cause to hang a big ole question mark on a whole litany of givens I’ve assumed to be best practice over the years.

The little cooperative business striving toward wholesome community exists as living proof to the profound role that a leader with a noble vision can play in creating an incredibly beautiful place. Through persistent advocacy and guidance Ricardo and the administrative team deftly encourage the local culture to give life to the cooperative’s business structure. In my humble opinion, it works miraculously well. I, for one, could not help but feel inspired and all the more grateful to have set out in pursuit of the more inclusive, albeit messy at times, permaculture field instead of getting too entrenched in a strictly academic agroforestry path as I had once planned.
Back on the smooth-paved streets of North Alabama, we pass a particularly discouraging novelty shop sign and an unbelievably long line at the MacDonald’s drive through, a friend of mine shakes his head and says, “The dharma is decreasing…” I reckon Las Cañadas is one of those noteworthy places where one could honestly say that the dharma is palpably increasing.